How to pre-fill answers in the form?
If you already know some answers, such as a customer's name or email address, a blank form makes people type them again, and typing mistakes creep in. Google Forms makes a prefilled link from its ⋮ menu, but one link at a time, and it opens on Google's page. With Formfacade, you create prefill links from the Share tab, and the form opens with your answers already filled in, under your branding. For a list of people, you can send bulk emails with a prefilled link for each one.
Create your form, or open one you have in Formfacade, and follow the steps below.
How to create a prefill link?
- On the page that opens, name your form, click Embed form and click Proceed. You land on the Share tab. For a form you already have in Formfacade, open it and click on "Share" tab.

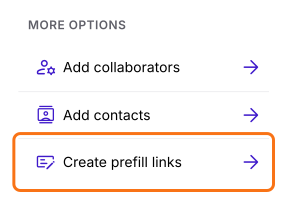
- Click Create prefill links under More options
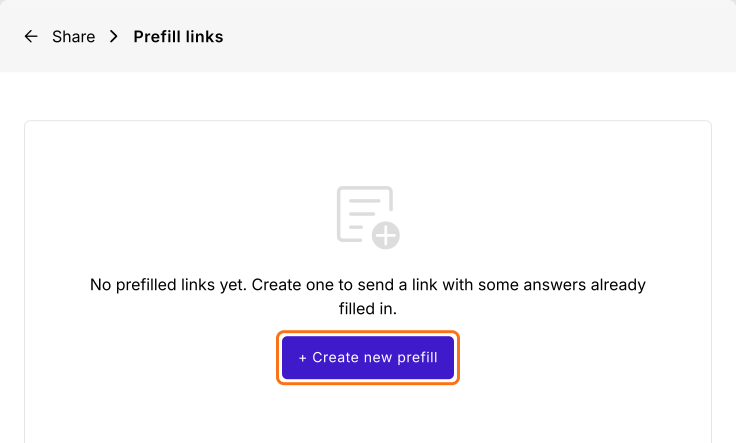
- Click + Create new prefill
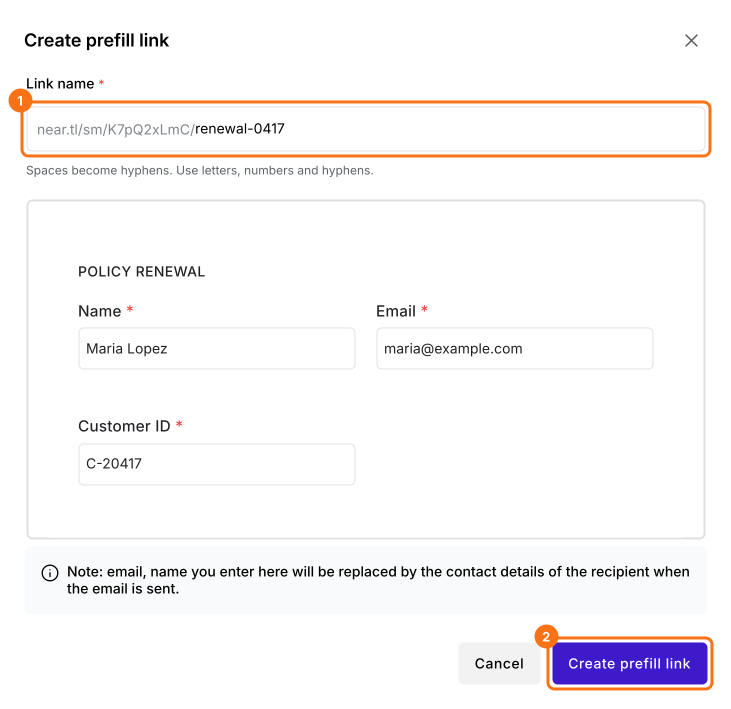
- Enter the unique name for the link
- Enter answers for the questions to be pre-filled
- Click Create prefill link
- Click Copy link to copy the pre-fill url
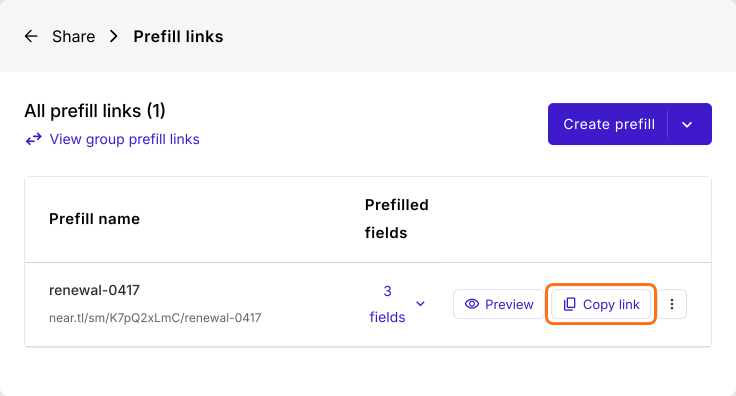
When someone clicks on the link, the form opens with your answers already filled in.
Instead of manually generating the pre-fill url for all users, you can send bulk emails with a prefilled link for each of them.
Summary
If you already know some of the answers, a blank form makes people type them again. With Formfacade, you click on Share tab, click Create prefill links, enter the answers and copy the link and you can send bulk emails if you need a link for each user. Create your form and complete the steps above.
Last updated: