How can I customize the form background color in Google Forms?
"I want to change the font color or the background color of a question box"- Google Docs Editors Community
Google Forms lets you pick a background color, but it only colors the page around your form. The questions sit on white cards whatever you choose, so a form that has to match your website or brand stands out as a white box. With Formfacade, you change the background color of the form itself, and you can embed it in your website with no iframe, so it looks like part of your page.
Below is what Google's background color changes, then the steps to color the form itself. Create your form to start.
Google Form's theme customization option allows you to change the background color, but it doesn't change the background color of the form itself; it only updates the page background color around the form.
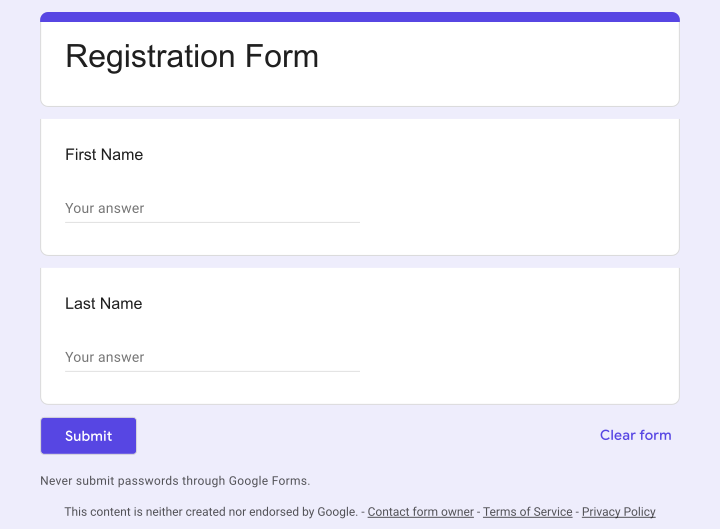
How to change the background color?
- On the page that opens, name your form, click Build form and click Proceed. Your form opens on the "Preview" tab.

- Open the THEME tab.

- Scroll down to Background to change the background color of the form.
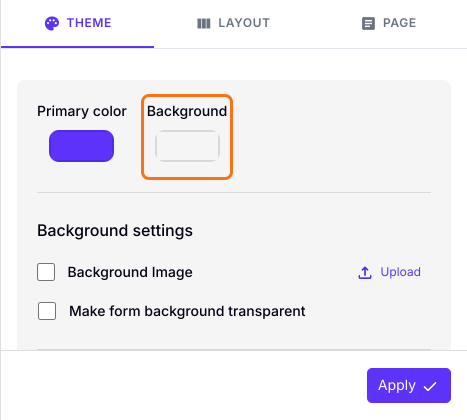
- Click on the widget for background color and select the color you want.
- Click on the "Apply to all forms" button, which changes the color on every live form on your account, not only this one.
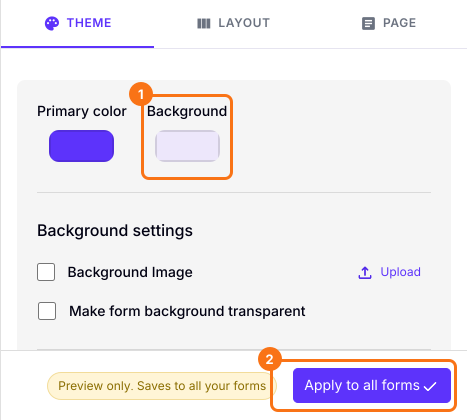
Formfacade form with updated background color for the form.

Summary
Google's theme only colors the page around your form, and the form itself stays white. With Formfacade, you choose the background color of the form in the THEME tab and apply it to your forms. Create your form and complete the steps above.
Last updated: